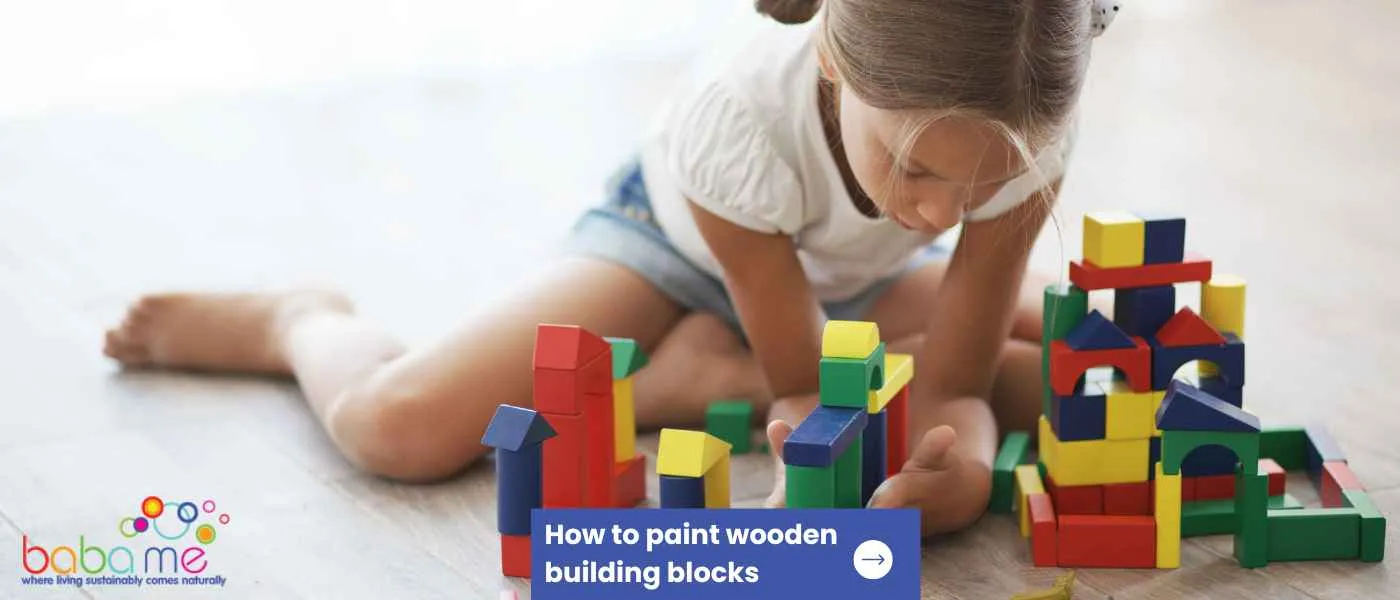
Wooden building blocks are fabulous toys and every child should have a set to play with. With a little care and attention, they will also last for years and your kids will be able to happily be able to hand them down to their children and grandchildren.
One way you can keep your wooden blocks in great shape is to repaint them when they start looking tired and worn. It’s a great way of bringing second-hand blocks back to life and making them like new again. And you can even make your own blocks and decorate them any way you like.
The most important thing to consider when painting wooden blocks or any other wooden toys is to make sure they are safe for children to play with. And that includes making sure they are safe to be chewed on.
It’s also worth knowing that older wooden toys may have been painted with lead paints. If you suspect this is the case we would advise you don’t give them to your children.
How to Paint Wooden Building Blocks
Painting wooden building blocks can be a fun and creative project, but it’s essential to ensure the paint job is safe, especially if these blocks are intended for young children who might put them in their mouths. Here’s a step-by-step guide on how to paint wooden building blocks:
Materials:
- Wooden building blocks (sanded and smooth)
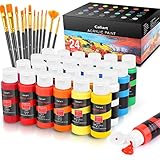
- Non-toxic, water-based acrylic paint or paint specifically designed for toys
- Paintbrushes
- Non-toxic, water-based sealant or toy-safe sealant
- Fine-grit sandpaper (e.g., 220 grit)
- Clean cloth or tack cloth
- Newspaper or drop cloth (for protecting your work area)
Procedure:
- Prepare the Workspace:
- Lay out the newspaper or drop cloth to protect your work area.
- Ensure the workspace is well-ventilated if using any products with fumes.
- Prepare the Blocks:
- If the blocks aren’t pre-sanded, use the fine-grit sandpaper to smooth any rough edges or surfaces. This will help the paint adhere better and ensure safety.
- Wipe the blocks with a clean cloth or tack cloth to remove any dust or debris.
- Painting:
- Stir the paint thoroughly before use.
- Dip the paintbrush into the paint, removing excess to prevent drips.
- Apply the paint in thin, even strokes. It’s better to apply multiple thin coats than one thick coat for a smoother finish.
- Let each coat dry thoroughly before applying the next one. Check the paint’s label for recommended drying times.
- Sealing (Optional but Recommended):
- Once you’ve achieved the desired color and the final coat of paint has dried, consider applying a non-toxic sealant. This will protect the paint job and add an additional layer of safety against potential chipping or wear.
- Apply the sealant in thin, even coats, allowing each coat to dry thoroughly before adding another.
- Drying:
- Allow the blocks to dry for at least 24 hours (or as recommended on the paint/sealant label) to ensure they are entirely safe for play.
- Safety Check:
- After the blocks are dry, inspect them to ensure there are no rough edges or areas where paint or sealant might chip off easily.
Tips:
- Always choose non-toxic, child-safe paints and sealants, especially if the blocks are for young children.
- If you’re planning to create designs or use multiple colors, painter’s tape can help create clean lines and patterns.
- Store painted blocks away from direct sunlight to prevent the colors from fading over time.
Remember, while painting the blocks can make them more aesthetically pleasing, safety should always be the top priority. Ensure that all materials are safe for the intended age group, and regularly inspect the blocks for wear and tear.
Best Paint for Wooden Toys
Choosing your finish
There are two main options when it comes to colouring wood. You can either paint it or stain it. The key difference between the two is that stain will sink into the wood whereas paint sits on the surface of the wood.
Because of this stain will enhance the natural grain and features of the wood while paints will give a more uniform colour and smoother finish.
If you are painting wooden blocks they will require a little more in the way of preparation than if you choose to stain them, however stain can’t be applied over a painted surface so if you are looking to restore toys that have already been painted you would need to strip them back to bare wood before staining.
If you have any Grimm’s toys you will know that one of the key characteristics is the natural finish that makes them easier to stack. The matt finish not only makes the toys easier to stack but lets children experience the natural feel of the wood grain.
Preparing wooden building blocks for painting
If you buy a set of untreated wooden blocks then the likelihood is they will be ready to colour. If you’ve had them for a while you will probably want to give them a clean first and let them thoroughly dry. And if you’ve chosen a paint finish then you may wish to lightly sand them to give the paint something to stick to.
If you are making your own wooden blocks you will want to sand down the blocks to a nice smooth finish to ensure there are no splinters or sharp corners.
Finishing touches
If you have chosen a stain you may find it raises the grain slightly. This is great for building blocks as it makes them more textured and easier to stack. But if you would rather a smooth finish you can sand back and stain again if required.
Applying a little beeswax not only smells amazing but will protect your blocks and nourish the wood.

