Determined to create a pretend grocery store at home and offer your child an engaging role-playing experience? If so, you’re on the right track. Many parents are discovering the joy of DIY projects that not only entertain their kids but also foster creativity and cognitive skills.
Fortunately, transforming a corner of your home into a mini-marketplace is easier than you might think and doesn’t require a hefty investment.
Drawing from my expertise in creative projects and child development, I’ve curated a comprehensive guide that will walk you through setting up your very own pretend grocery store at home.
Let’s embark on this imaginative journey, stocking shelves and arranging aisles, to craft a delightful shopping experience for your little ones right in the comfort of your home.
The basic requirements for a play shop
| Step | Instructions |
|---|---|
| 1. Choose a Location | Designate a space in your home, such as a corner of a room or the garage, as the grocery store. |
| 2. Gather Supplies | Collect empty food containers, boxes, and jars. You can also use toy food items or make them from craft materials. |
| 3. Create Shelves | Use bookshelves, cardboard boxes, or crates to create shelves for your products. |
| 4. Organize Products | Arrange the food items on the shelves by category: fruits, vegetables, cereals, dairy, etc. This helps children learn about categorization. |
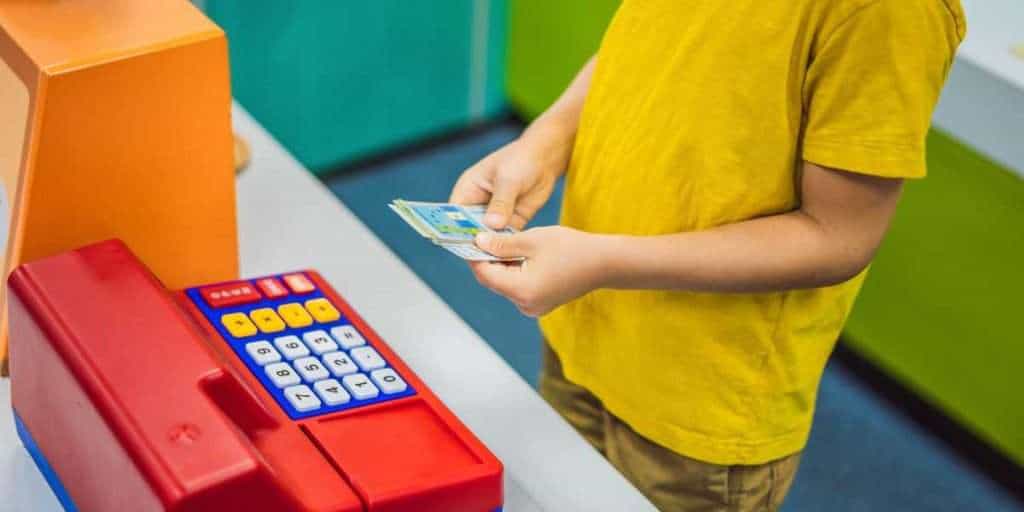
| 5. Set Up a Checkout Counter | Use a table or desk as the checkout counter. Add a toy cash register or calculator, and provide play money or real coins. |
| 6. Make Signs | Create signs for different sections of the store, price tags for products, and even “open” and “closed” signs. This can be a fun craft activity. |
| 7. Shopping Carts/Baskets | Provide small baskets, bags, or toy shopping carts for the “customers” to use. |
| 8. Role Play | Decide on roles: cashier, customer, stock clerk, etc. Rotate roles to give everyone a turn. |
| 9. Incorporate Real Money | For older children, use real coins to teach them about money and basic math skills. |
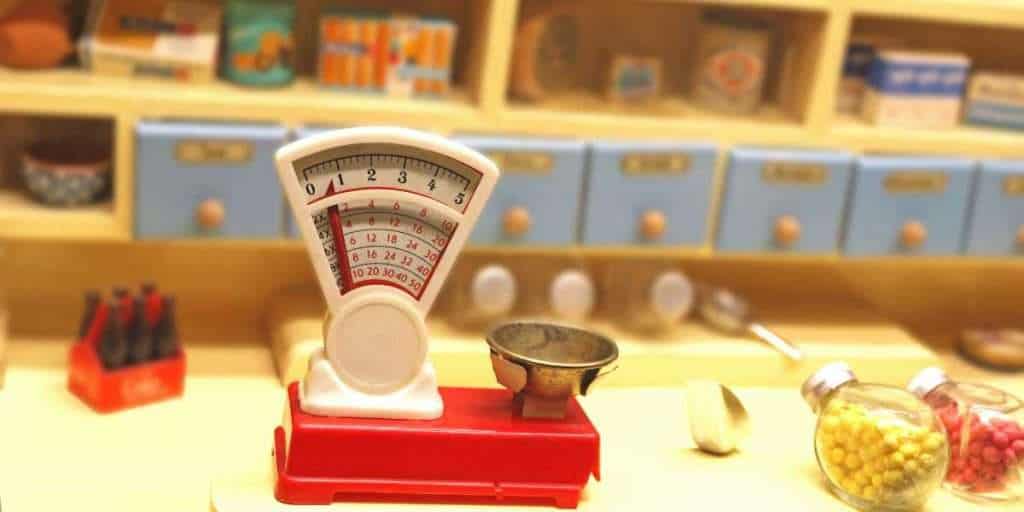
| 10. Enhance with Extras | Add extra features like a weighing scale, coupons, or a “sale” section to make the experience more realistic. |
| 11. Introduce Scenarios | Create shopping lists, give budgets, or set up scenarios (e.g., preparing for a birthday party) to make the play more challenging and educational. |
| 12. Cleanup & Organization | After play, encourage children to restock the shelves and organize the store for the “next day.” This teaches responsibility. |
All you really need for a pretend grocery store is a counter, some products to sell and somewhere to display them. A little bookcase is perfect for this as is a small open-fronted storage unit, or even a nice wooden toy chest with a few baskets or boxes to display the food.
Stacking a few wooden apple crates together works well, and even cardboard boxes can be used although this obviously won’t be as sturdy or long-lasting.

Litte baskets, wooden crates or even shoe boxes are perfect for displaying play food and other items for sale. You can cover cardboard boxes in wrapping paper or paint them to make them feel special, and even add a little chalkboard on the front so kids can write prices, special offers or name the items on sale.
A surface you can use as a counter is ideal for having a till or weighing scales etc but this can be one of the shelves or a little table set up for the occasion.
How to make a pretend grocery store at home
Looking to create a pretend grocery store at home to spark your child’s imagination and enhance their role-playing skills? You’re on the right track! Pretend play is a fantastic way to develop cognitive and social skills. Here’s a comprehensive guide on setting up your very own grocery store at home:
1. Choose a Location: Select a corner of a room, a section of your child’s playroom, or even an outdoor area if the weather is nice.
2. Shelving and Storage:
- Use bookshelves, crates, or cardboard boxes to create aisles and display products.
- Plastic containers or bins can serve as produce bins.
3. Stocking the Store:
- Empty food boxes: Save boxes from cereals, pasta, snacks, and more.
- Play food: Invest in some plastic or wooden play food sets.
- Real produce: Use fruits and vegetables, just ensure they’re returned to the kitchen afterward!
4. Price Tags and Labels:
- Create price tags using paper, markers, and tape or sticky notes.
- Teach basic math skills by adding prices to items.
5. Checkout Counter:
- Use a small table or desk as the checkout counter.
- Add a toy cash register or a calculator for added realism.
- Don’t forget a “credit card” machine – a small block or old card will do.
6. Shopping Carts/Baskets:
- Use small baskets, reusable shopping bags, or even a toy stroller as a shopping cart.
7. Signage:
- Craft a store sign with the name of your pretend store.
- Create aisle signs or sections like “Produce,” “Dairy,” “Canned Goods,” etc.
8. Dress the Part:
- Provide an apron for the storekeeper.
- Create name tags or even hats to make it official.
9. Money Management:
- Use play money, coins, or even create your own.
- This is an excellent way for children to practice math skills and understand the concept of money.
10. Extra Activities:
- Restocking: Teach kids the concept of inventory by letting them restock shelves.
- Sales and Discounts: Introduce the idea of sales, discounts, and promotions.
11. Enhance the Experience:
- Consider adding a DIY conveyor belt using a moving cardboard piece.
- Introduce coupons or loyalty cards for regular “customers.”
12. Role Play Ideas:
- Rotate roles between cashier, customer, stocker, and manager.
- Discuss themes like healthy eating or budgeting to make shopping choices.
Remember, the key is to let children’s imaginations run wild. The store doesn’t need to be perfect or complete. Over time, you can add more items or features based on your child’s interests. Most importantly, have fun and enjoy the interactive playtime with your child!

The finishing touches
Once you have your base it’s time to add the finishing touches. Painting a bookcase will instantly transform it, and if you are feeling in the DIY mood making a canopy from some striped fabric and lengths of wood will really finish it off.
If you don’t have lots of play food you can make this as well. Empty cereal boxes and other food packets, especially the little mini ones are perfect for a play kitchen, and you can print new labels to stick on empty spice jars to stock the shelves will all your little one’s favourites.
Saving a few crisp packets, stuffing them with scrunched up paper and glueing them closed works a treat, as does rinsing out little juice cartons.
If you are feeling crafty felt can be used to make everything from pasta to bananas, and you can even make canned food from old toilet roll inners. Sponges can be made into great play cakes, just ask you tube, and those little craft pom poms make amazing berries.
Ice cream cones can be made of a piece of brown paper and a bit of sticky tape or glue and scrunched up tissue paper makes great ice cream in any flavour you fancy.
And of course your store doesn’t have to be a grocery store. Children can collect all sorts of things from around the house to sell. They could open a toy store, a book store or a clothes store. Just make sure they know they need to help put it all away at the end of the game.
If this all seems like a lot of effort read more about why play is important for children’s development here for a bit of added inspiration.


