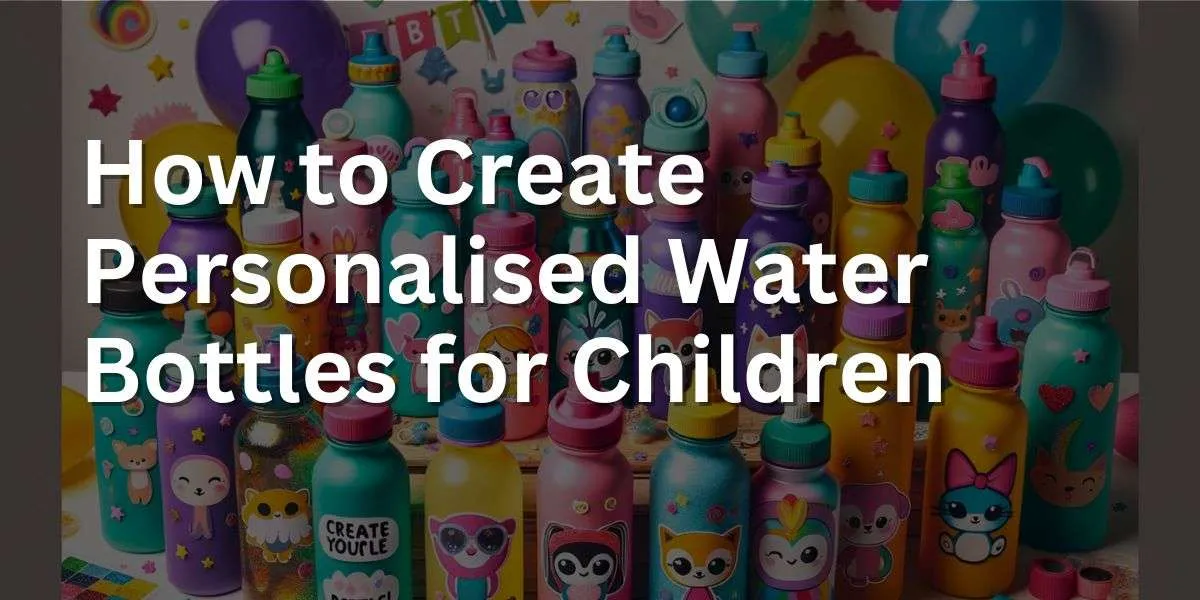
Designing personalized water bottles for children can be a delightful and creative process.
In this step-by-step guide, we will explore the various methods to customize water bottles that not only appeal to kids but also encourage them to stay hydrated.
From choosing the right bottle to selecting kid-friendly designs, safe materials, and personalization techniques like stickers, paints, or engravings, you’ll learn everything you need to create a water bottle your child will love and want to use every day.
Get ready to unleash your creativity and craft a functional, fun, and fabulous water bottle that’s as unique as your child.
Key Takeaways: Creating Personalized Water Bottles for Children
Choose the right bottle. Start with a high-quality, durable, and child-friendly water bottle. Consider materials like stainless steel or BPA-free plastic for safety and durability.
Select a theme or design. Personalize the bottle with your child’s favorite colors, characters, or themes. This can make the bottle more appealing and encourage regular use.
Use safe, durable materials for decoration. If adding decorations, ensure they are non-toxic and firmly attached to prevent choking hazards.
Consider stickers or decals. Waterproof stickers and decals are a simple way to customize the bottle and can be easily changed as your child’s interests evolve.
Try DIY painting. Use non-toxic, waterproof paint for a fun DIY project. Make sure the paint is suitable for the bottle’s material and safe for children.
Add their name. Personalizing with your child’s name not only makes the bottle special but also helps in identifying it at school or playdates.
Involve your child. Involving your child in the customization process can be a fun activity and gives them a sense of ownership over their bottle.
Think about functionality. Ensure that the bottle is easy to open, close, and clean, especially after customization.
Having a personalised kids reusable bottle can have a number of great benefits. First of all, kids love them, they feel special and they are more likely to take care of them.
Secondly, personalisation makes their bottle easy to spot so you are far less likely to end up with the wrong blue bottle at the end of the day.
And thirdly they are much less pinchable, someone might take a really good quality water bottle home with them if it’s generic but they are highly unlikely to take one with another child’s name on.
It also really helps teachers and carers ensure that kids are drinking from their own bottle and not sharing germs between bottles!
You can buy already personalised bottles online. Just perform a quick google search and you will find plenty of options. However, many of them are plastic and you are limited in the designs and styles available.
Personalising your existing bottle, or choosing a bottle based on what you need and then making it your own is much better really and more personal.
So how do you do it.
What You Need to Personalize a Water Bottle
Quality water bottle. Choose a durable, safe (BPA-free or stainless steel) water bottle as your base.
Waterproof markers or paint. Use non-toxic, waterproof markers or paint specifically designed for use on plastics or metals.
Stickers and decals. Select durable, waterproof stickers or decals that can withstand regular washing.
Adhesive vinyl. If you’re using a cutting machine, adhesive vinyl is great for creating custom designs and names.
Sealant. A clear, non-toxic sealant can protect your artwork and make it last longer.
Stencils or templates. These are helpful for creating precise designs or letters, especially if freehand drawing isn’t your forte.
Cutting machine (optional). For intricate designs, a cutting machine like a Cricut or Silhouette can be very useful.
Rubbing alcohol and a cloth. Clean the bottle’s surface with rubbing alcohol before starting to ensure the paint or stickers adhere properly.
Personalized Water Bottle Creation Guide
Creating personalized water bottles is a fun and creative way to express individuality, make special gifts, or even kickstart a crafting hobby. This guide will walk you through each step of the process, offering tips and tricks to enhance your designs.
1. Precise Measurement
- Objective: Determine the ideal design size for your bottle.
- Steps: Measure the height and width of the area where you’ll place the design. Consider the bottle’s curves and edges, ensuring your design fits comfortably within these dimensions.
2. Versatile Design Creation
- Software Options: While Cricut Design Space is popular, other accessible options include Adobe Illustrator or free online tools like Canva.
- Design Tips: Explore beyond names – try patterns, favorite characters, or symbols. Balance your design with appealing color combinations and remember to match the design complexity with your skill level.
3. Cutting Your Vinyl
- Vinyl Types: Choose from glossy, matte, or textured vinyl based on your preference and bottle material.
- Cutting Tips: Place your vinyl correctly on the cutting mat. If using a machine like Cricut, follow the machine’s specific instructions. For manual cutting, use a steady hand and a sharp cutter for precision.
4. Mastering Weeding
- Focus: Remove excess vinyl, leaving your main design intact.
- Technique: Use a weeding tool or tweezers for intricate parts. Work slowly to avoid tearing delicate elements.
5. Transfer Tape Application
- Objective: Move your design from the vinyl backing to the bottle.
- Method: Apply the tape smoothly over the design, use a scraper or credit card to eliminate air bubbles, and ensure the design adheres to the tape before lifting.
6. Applying the Design
- Surface Prep: Clean the bottle surface for a dust-free, grease-free area.
- Application: Align the design carefully, starting from one side to avoid misplacement. Press firmly, then peel away the transfer tape gently.
7. Aftercare and Maintenance
- Setting Time: Allow 24-48 hours for the adhesive to set fully.
- Cleaning Tips: Hand wash the bottle for longevity. If the material allows, use a gentle dishwasher setting for cleaning.
8. Special Occasions and Customization
- Ideas: Personalize bottles for birthdays, team events, or as thoughtful gifts. Consider themes, favorite colors, or special dates.
9. Eco-Friendly Practices
- Materials: Opt for recyclable or biodegradable vinyl where possible.
- Upcycling: Give new life to old bottles with fresh designs.
DIY Options to personalise your water bottle
If you fancy getting creative then you don’t have to stick to stickers to add a personal touch. There are lots of online tutorials using glitter, glue, nail polish, spray paint and epoxy that create some incredible designs. Plus you get to have fun together crafting and experimenting in the process.
If you get good at any of these techniques then personalised cups and bottles make gorgeous gifts. In fact, we suspect you’ll be looking around the house for more things you can personalise.


