Ever watched your child’s eyes light up at the sight of a muddy puddle, wishing there was a designated space for them to explore their muddiest culinary aspirations? If so, you’re not alone. The desire to create an engaging outdoor space has led many parents and caregivers towards the concept of a mud kitchen.
Fortunately, building a mud kitchen isn’t as daunting as it might seem. With the right tools and guidance, you can craft a durable, functional, and inviting space for your young ones to let their imaginations run wild.
As an enthusiast of DIY projects and child-centered play spaces, I’ve assembled a step-by-step guide to help you construct the ideal mud kitchen for endless hours of outdoor fun.
Let’s roll up our sleeves and embark on this DIY journey, transforming your backyard or garden area into a hub of sensory exploration and creativity.
Planning the Mud Kitchen
Building a mud kitchen is a fun and rewarding DIY project that can provide hours of outdoor entertainment for your children. Before you start building, it’s important to plan out your mud kitchen to ensure that it meets your needs and fits your space. Here are some key considerations to keep in mind as you plan your mud kitchen.
Choosing the Location
The first step in planning your mud kitchen is to choose the location. Look for a flat, level area in your yard that is close to a water source. You may also want to consider the proximity to your house and any other outdoor play areas.
Deciding on Dimensions
Next, decide on the dimensions of your mud kitchen. Consider the age and height of your children, as well as the amount of garden space you have available. A typical mud kitchen is around 3-4 feet wide and 2-3 feet deep, with a height of 2-3 feet.
Designing the Layout
Once you have decided on the dimensions, you can start designing the layout of your mud kitchen. Consider the frame, legs, table top, bottom shelf, top shelf, backsplash, sink, and shelves. You may also want to incorporate burners or a table and chairs.
Preparing the Materials List
Before you start building, prepare a materials list. This may include pallets, cedar or other lumber, nails, wood screws, hardware, paint, and any other materials needed for your specific design.
Creating a Cut List
Once you have your materials list, create a cut list that details the dimensions of each piece of wood. This will help you make accurate cuts and ensure that your mud kitchen fits together properly.
Planning for Accessories
Consider what mud kitchen accessories you want to include, such as utensils, pans, pots, bucket, and hooks. You may also want to incorporate a working sink that can be connected to a garden hose.
Incorporating a Working Sink
If you decide to incorporate a working sink, you will need to plan for plumbing and drainage. You can use an old sink or purchase a new one, and connect it to a garden hose for water supply.
Considering Mud Kitchen Plans
If you’re not comfortable designing your own mud kitchen, consider using pre-made mud kitchen plans. There are many free and paid plans available online that can provide inspiration and guidance.
Finding Inspiration
Finally, look for inspiration from other mud kitchens. Watch videos, browse online forums, and visit home improvement stores to get ideas and see what works best for your space and needs.
Building the Mud Kitchen
Building a mud kitchen for your kids can be a fun and rewarding DIY project. Here are the steps to follow:
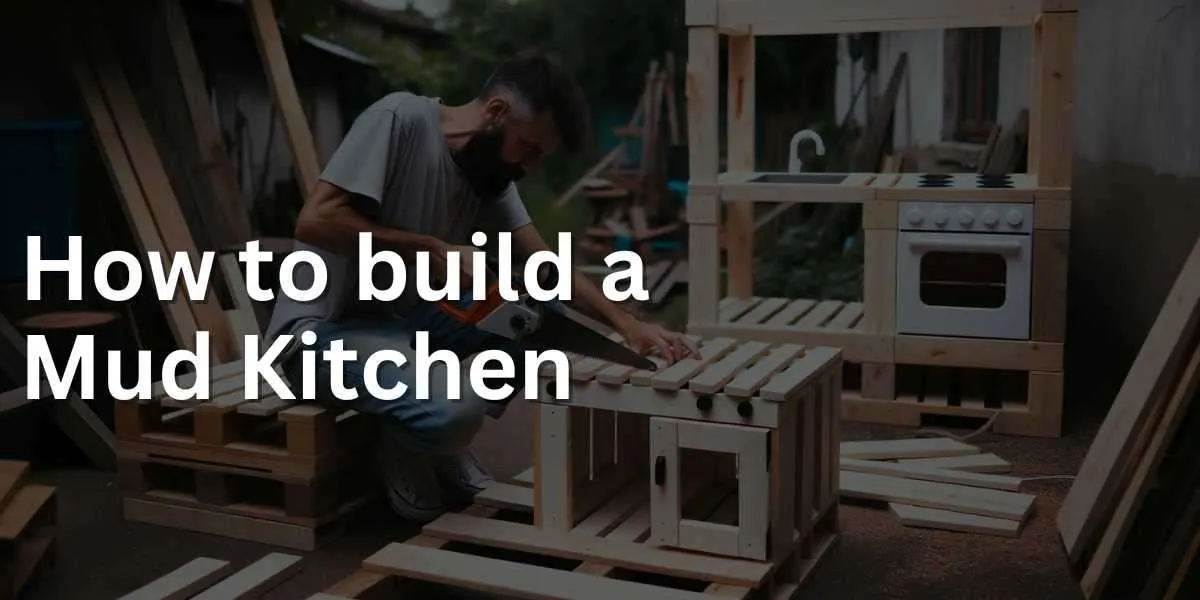
Constructing the Frame
To construct the frame of the mud kitchen, use exterior grade cedar lumber for durability. Cut four legs to the desired height using a circular saw or jigsaw, and attach them to the frame using wood screws or nails. Use a tape measure to ensure that the legs are level.
Adding the Table Top and Shelves
Next, add a bottom shelf and a top shelf to the frame. Cut the shelves to size using a circular saw or jigsaw, and attach them to the frame using wood screws or nails. Sand the edges of the shelves to prevent splinters.
Installing the Sink
To create a working sink, install a garden hose to the back of the mud kitchen. Cut a hole in the top of the table for the sink, and attach the sink using wood screws or nails.
Creating Burners and Backsplash
To create burners, paint circles on the top of the mud kitchen using black paint. To create a backsplash, attach a piece of plywood to the back of the mud kitchen using wood screws or nails. Paint the backsplash with a fun design or color.
Securing the Accessories
Finally, secure utensils, pans, and pots to the mud kitchen using hooks or cup hooks. Use a bucket to store mud kitchen accessories.
With these simple steps, you can create a fun and functional mud kitchen for your kids to enjoy. Happy building!
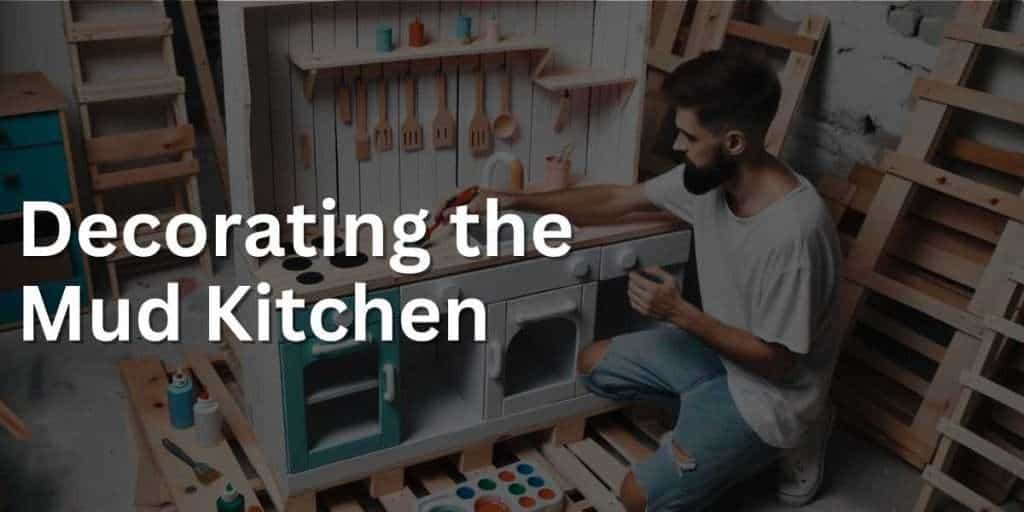
Decorating the Mud Kitchen
Now that you’ve built your mud kitchen, it’s time to make it look awesome! Decorating your mud kitchen is a fun and creative way to encourage imaginative play and outdoor fun. Here are some ideas to get you started:
Choosing the Paint
Painting your mud kitchen is a great way to add some color and personality. Choose a color that you and your kids will love and that will stand up to the elements. Outdoor paint or spray paint is a good choice. You can also use stencils or tape to create fun designs.
Adding Decorative Items
Thrift stores and garage sales are great places to find items to decorate your mud kitchen. Look for old pots and pans, utensils, and other kitchen items. You can also add plants, flowers, and other natural items to give your mud kitchen a more organic feel.
Creating a Fun Atmosphere
Use your imagination to create a fun atmosphere in and around your mud kitchen. Hang up a chalkboard to write recipes or menus, or add a sign with your mud kitchen’s name. You can also create a seating area nearby with chairs or a picnic table for outdoor dining.
Remember, the key to decorating your mud kitchen is to have fun and be creative. Let your imagination run wild and encourage your kids to do the same. The more imaginative and fun your mud kitchen is, the more your kids will want to play with it.
Frequently Asked Questions on DIY Mud Kitchen
How much does it cost to build an outdoor mud kitchen?
The cost of building an outdoor mud kitchen can vary depending on the materials you choose to use and the size of the kitchen you want to build. If you choose to use recycled materials, such as old pallets and scrap wood, you can build a mud kitchen for as little as $50. However, if you choose to use high-quality materials, such as cedar or redwood, the cost can be upwards of $500. It’s important to keep in mind that the cost of the materials is just one part of the equation; you’ll also need to factor in the cost of any tools you may need to purchase or rent.
What kind of wood is best for building a mud kitchen?
When it comes to building a mud kitchen, there are a few different types of wood that are commonly used. Cedar and redwood are both popular choices because they are naturally resistant to rot and insects. However, these types of wood can be more expensive than other options. Pine and spruce are also commonly used because they are affordable and easy to work with. If you choose to use pine or spruce, it’s important to treat the wood with a waterproof sealant to protect it from the elements.
What are some essential accessories for an outdoor play kitchen?
There are a few essential accessories that can make your mud kitchen more functional and enjoyable for kids. Some popular options include:
Pots and pans
Measuring cups and spoons
Mixing bowls for those all important mud pies!
Utensils (spoons, spatulas, whisks, etc.)
Sinks or water tables
Shelves or storage containers for ingredients and utensils
On top of this for ideal mud pie creation and messy play, your children will need access to plenty of mud and other natural materials around their play space.
Are mud kitchens a good investment for kids?
Yes, mud kitchens can be a great investment for kids! Not only do they provide a fun and engaging sensory experience, but they also encourage creativity, imagination, and outdoor play. Mud kitchens can also help children develop important skills, such as problem-solving, teamwork, and communication.
Where can I find mud kitchens for sale?
If you’re not interested in building your own mud kitchen, there are plenty of options available for purchase. You can find mud kitchens for sale at many toy and home goods stores, as well as online retailers like Amazon and Etsy. Some popular brands include Little Tikes, Step2, and KidKraft, or look for more DIY mud kitchen ideas for more inspiration.
What are some creative mud kitchen diy DIY ideas?
If you’re feeling creative, there are plenty of ways to customize your mud kitchen and make it unique! Here are a few ideas to get you started:
Use colorful paint or stain to add some personality to your mud kitchen.
Add a chalkboard or whiteboard to the back of the kitchen for menu planning or recipe writing.
Use PVC pipes to create a water feature or faucet for your mud kitchen.
Incorporate natural elements like rocks, sticks, and flowers into your mud kitchen design.
Create a mud kitchen on wheels so it can be easily moved around your yard.

