Are you looking for a fun way to keep your little ones entertained while also teaching them something new? Homemade educational toys are the perfect solution!
From easy projects that toddlers can do, to more complex activities designed specifically for young toddlers and preschoolers and 4 to 5 year old children, there is an endless variety of ways to make learning through play both enjoyable and effective.
Get ready to unleash your inner crafter as we explore all the benefits, types of materials used in making these toys, guide on how best utilize them during playtime with kids and examples of different homemade toys. So let’s get started crafting different toys at home!
Key Takeaways on Homemade Toys
- Homemade educational toys are a cost-effective, customizable, and engaging way to teach children new skills.
- Consider safety and age appropriateness when making DIY toys for toddlers.
- Wood is the easiest material to use when creating a zero waste toy that is durable and Eco-friendly.
10 Amazing DIY Educational Toys to Boost Your Child’s Brainpower
- Bottle Cap Counting Board
- Materials: Old bottle caps, cardboard, marker.
- How-to: Write numbers on the cardboard and corresponding dots on the bottle caps. Kids can match the caps to the numbers, enhancing their counting skills.
- Homemade Playdough
- Materials: Flour, salt, water, food coloring.
- How-to: Mix ingredients to create a moldable dough. This sensory play boosts creativity and fine motor skills.
- Magnetic Fishing Game
- Materials: Stick, string, magnet, paper fish, paperclips.
- How-to: Attach the magnet to the string and the string to the stick. Clip paperclips to the paper fish. Kids can “fish” and learn about magnetism.
- DIY Shape Sorter
- Materials: Cardboard box, colored paper, scissors.
- How-to: Cut different shapes in the box lid. Kids can create paper shapes and sort them, enhancing shape recognition.
- Alphabet Pebbles
- Materials: Smooth pebbles, paint or markers.
- How-to: Write letters on the pebbles. They can be used for spelling games or letter recognition.
- Homemade Balance Scale
- Materials: Hanger, string, two baskets.
- How-to: Attach the baskets to either end of the hanger. Kids can compare the weight of different objects, introducing basic physics concepts.
- DIY Solar System
- Materials: Foam balls, paint, string.
- How-to: Paint the foam balls to resemble planets and hang them in order. This visual aid helps kids learn about space.
- Rainbow Rice Sensory Bin
- Materials: Rice, food coloring, vinegar, bin.
- How-to: Color rice with food coloring and vinegar. Once dry, place in a bin for sensory exploration.
- Handmade Clock
- Materials: Cardboard, brads, markers.
- How-to: Create a clock face on cardboard, attach movable hands with brads. This aids in teaching time-telling.
- Nature Exploration Kit
- Materials: Magnifying glass, notebook, pencil, container.
- How-to: Kids can use the kit to explore the outdoors, documenting their findings and learning about nature.
These DIY educational toys not only provide hours of fun but also stimulate cognitive development, creativity, and hands-on learning. Plus, they’re a great way to recycle and repurpose materials you might already have at home!
DIY Toys for Toddlers and Preschoolers
If you have toddlers or preschoolers at home, you know how quickly they can lose interest in their toys. That’s why it’s a great idea to make some DIY toys for them! Not only is it a fun activity to do together, but it can also save you money and keep your preschooler entertained for longer periods of time.
Here are some easy and fun DIY toddler toys ideas:
- Fill a plastic bottle with water, glitter, and small objects like beads or buttons. Your child can shake the bottle and watch the objects move around as they play games.
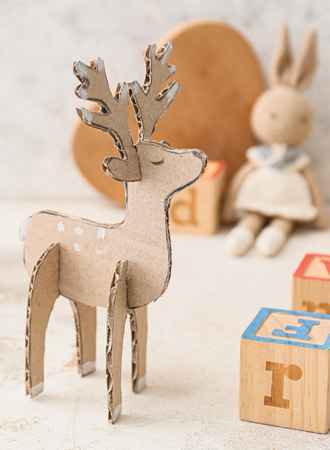
- Cut up sturdy cardboard boxes into blocks of various sizes and shapes. Your child can stack and build with them.
- String dried pasta on a piece of yarn or string to make a necklace. Your child can practice their fine motor skills and creativity by choosing different types of pasta.
- Cut out shapes and figures from felt and attach them to a large piece of felt. Your child can create their own scenes and stories on the board.
- Create a quiet book filled with family photos and pictures.
- Use empty plastic containers and create different sea creatures out of them them for bath time fun.
- You can make a fun homemade fishing rod by tying a piece of string and a magnet to the end of a stick. Alternatively, you can create a simple stick figure puppet by attaching some paper cutouts to the stick.
- Make a homemade tic tac toe from old hemp bags or leftover fabric from a previous sewing project.
- Use paper bags to create animal or character puppets for your game. Your child can embellish them with markers or crayons and put on their own puppet show.
- Make homemade soft play dough with flour, salt, water, and food coloring. Your child can use cookie cutters and other tools to create different shapes and figures. They can use these for playing indoors or outdoors with their friends.
- Cut a hole in the top of a tissue box and attach rubber bands to create a guitar. Your child can strum the rubber bands and make their own music.
- Make pretend play toys out of wooden pegs or cut up cardboard boxes. Your little girl or boy will love you for it.
DIY Toys for 4 and 5 Year Olds
Are you looking for a fun and engaging way to keep your 4 to 5-year-old entertained? Why not try making some DIY toys together! Not only will this give you a chance to bond with your child, but it will also help to develop their creativity and problem-solving skills.
Here are some easy and amazing DIY toys to make at home:
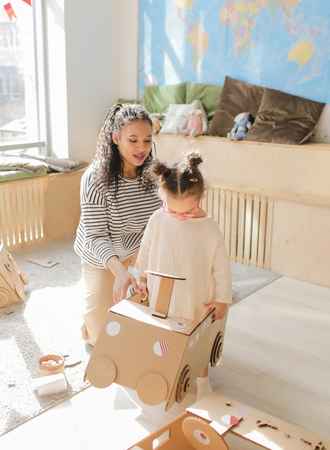
Cardboard Box Forts
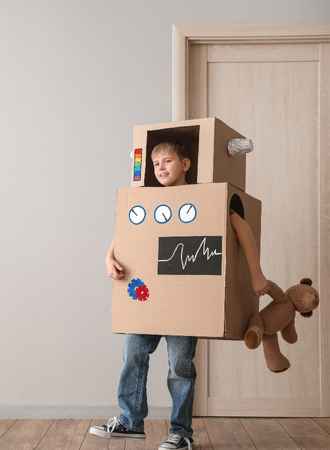
All you need for this activity is a large cardboard box or a few smaller ones. Cut some doors and windows into the boxes, and then let your child’s imagination run wild as they decorate and play inside their very own fort.
Homemade Playdough
Making playdough is quick and easy, and it’s a great sensory activity for kids. All you need is flour, salt, water, oil, and food coloring. Mix the ingredients together, and then let your child shape and mold the playdough into whatever they like.
Paper Plate Tambourines
Take two paper plates and fill them with dried beans, rice, or beads. Then, staple the plates together around the edges, and decorate them with letters, markers, stickers, or paint. Your child will love shaking their homemade tambourine and making music.
Cardboard Toy Cars
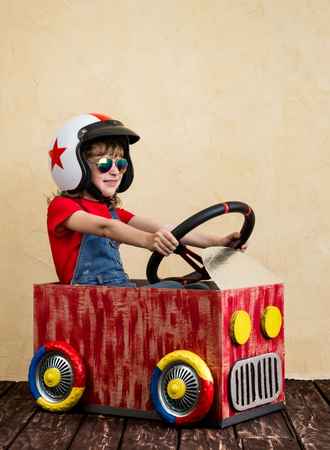
Cut a cardboard tube in half and decorate it with paint or markers. Then, attach four plastic bottle caps to the bottom of each half for wheels. Your child can then use their new car to race around the house or play with their other toys.
DIY Sensory Bottles
Fill a plastic bottle with water, glitter, beads, and other small objects. Securely attach the cap with hot glue or duct tape, and let your child shake and play with their new sensory bottle. It’s a great way to engage their senses and provide a calming activity.
How to Make Science Toys at Home?
Science toys are a great way to get kids interested in science and encourage them to explore their curiosity. Making science toys at home can be a fun and educational activity that you can do with your children. Here is a comprehensive guide on how to make science toys at home.
Balloon Rocket
To make a balloon rocket, you will need a balloon, a straw, a long piece of string, and some tape. Blow up the balloon and tie it off. Tape the straw to the balloon and tie one end of the string to the straw. Stretch the string across the room and hold it in place. Let go of the balloon and see it fly down the string.
Baking Soda and Vinegar Volcano
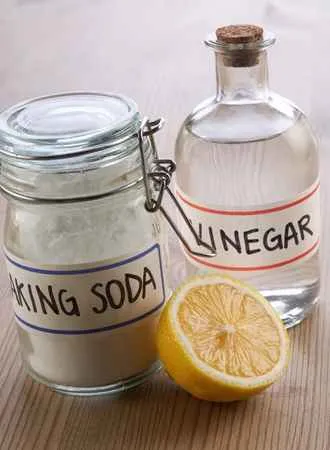
To make a baking soda and vinegar volcano, you will need a bottle, baking soda, vinegar, red food coloring (optional), and dish soap (optional). Fill the bottle about a quarter of the way with vinegar and add a few drops of red food coloring and a squirt of dish soap. In a separate container, mix baking soda and water to make a paste. Pour the paste into the bottle and observe as the volcano erupts.
Invisible Ink
To make invisible ink, you will need baking soda, water, a paintbrush, and grape juice (or lemon juice). Mix baking soda and water to make a paste. Use the paintbrush to write a message on a white piece of paper with the paste. Let the paste dry completely. When you are ready to reveal the message, use a cotton swab to brush grape juice (or lemon juice) over the paper. The message will appear as the juice reacts with the baking soda.
Magnetic Slime
To make magnetic slime, you will need glue, liquid starch, iron oxide powder, and a magnet. Mix glue and iron oxide powder in a bowl until it is well combined. Add liquid starch and mix until the slime forms. Use the magnet to move the slime and watch as it follows the magnet.
Homemade Lava Lamp
To make a homemade lava lamp, you will need a clear plastic bottle, water, vegetable oil, food coloring, and Alka-Seltzer tablets. Fill the bottle a quarter of the way with water and the rest with vegetable oil. Add a few drops of food coloring. Break an Alka-Seltzer tablet into small pieces and drop them into the bottle. Watch as the bubbles rise and fall in the bottle, creating a lava lamp effect.
Solar Oven
To make a solar oven, you will need a pizza box, aluminum foil, plastic wrap, black construction paper, and a ruler. Cut a flap on the top of the pizza cardboard and cover it with aluminum foil. Cover the inside with black construction paper. Cover the flap with plastic wrap. Use the ruler to prop the flap open and direct sunlight into the box. Place food inside the box and watch as it cooks in the sun.
Cartesian Diver
To make a Cartesian diver for older children, you will need a plastic bottle, a dropper, water, and a paper clip. Fill the bottle with water and add a few drops of food coloring. Make the dropper sink by bending the paper clip and attaching it to the dropper. Place the dropper in the bottle and screw the lid on tightly. Squeeze the bottle to make the diver sink and release to make it rise.
What Is the Easiest Toy to Make?
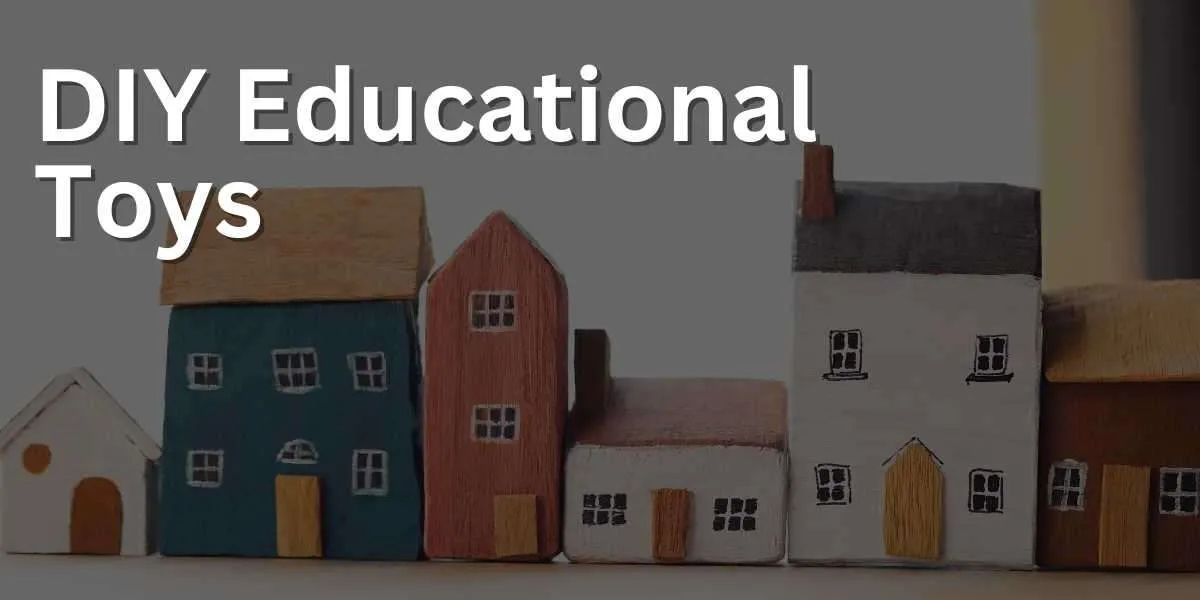
Making a wooden toy is one of the easiest ways to create an eco-friendly, zero waste toy. Wooden toys are durable and can be made from recycled or sustainably sourced wood. They also require minimal materials and tools, making them easy to craft at home with basic supplies like saws, drills, sandpaper, and paint.
With a few simple steps you can make your own unique wooden toy that will last for years! Plus, since they’re made out of natural materials there’s no need to worry about plastic or other harmful chemicals leaching into the environment when it comes time to dispose of them.
Wooden blocks are a great way to promote open-ended play and provide an eco-friendly alternative for families looking to go zero waste.
Helpful Tips on Making Fun Toys at Home
Kids love playing with toys and if you decide to make some at home to keep your kids busy.
- When making DIY toys, ensure that you use safe and appropriate materials and everyday items. Avoid using toxic or hazardous materials, and make sure that the materials are age-appropriate for your child.
- Planning ahead can help you save time and reduce the risk of mistakes. Create a design plan and gather all the necessary materials before you start making the toy.
- Involve your child in the toy-making process. Ask for their input on the design and let them help you with some of the steps. This will make the toy more engaging and meaningful for your child.
- Don’t be afraid to be creative when making DIY toys. Use materials that you have at home or buy them from your local hardware store, and think outside the box when creating the design. The more creative and engaging the toy is, the more your child will enjoy it.
What Are the Pros and Cons of Making Homemade Toys Instead of Buying Them?
Toys play an essential role in the growth and development of children. Early learning and development toys help children build skills such as problem-solving, motor skills, cognitive skills, and creativity. However, buying toys can be expensive, especially if you want to provide your child with a variety of options.
One solution to this problem is to make your own toys at home. Here are the pros and cons of making DIY toys for early learning and development at home.
Pros
- Making your own toys at home can be cost-effective, and you can save a lot of money in the long run. You can use materials that you already have at home, or you can purchase materials at a lower cost than buying ready-made toys.
- Awesome DIY toys are customizable, and you can create toys that meet your child’s needs and interests. You can tailor the toys to your child’s age, learning level, and preferences, which will make the toys more engaging and effective.
- DIY toys can be educational, and they can help your babies and toddlers learn and develop new skills. For example, you can create a toy that helps your child learn to count or a puzzle that teaches your child problem-solving skills.
- Making toys at home can be a bonding experience for you and your child. You can involve your child in the creation process, and you can spend quality time together. These toys make for an amazing gift for little boys and girls.
Cons
- Making toys at home can be time-consuming, and it requires planning and preparation. You will need to gather materials, plan the design, and create the toy, which can take a significant amount of time.
- Making your own toys at home means that you have limited resources. You may not have access to the same materials and tools that manufacturers use to create toys, which can limit the quality and effectiveness of the toys.
- Making toys at home can be risky, and safety concerns may arise. You must ensure that the materials you use are safe for your child, and that the toy does not have any sharp edges or small parts that could pose a choking hazard.
- The quality of DIY baby toys may not be as high as the quality of store-bought toys. This can affect the durability of the toys, and they may not last as long as store-bought toys.

